I was lucky enough to be invited for the Mawddach residency in September 2024 with my friend Catherine Gerbrands, a fellow Greenwich Printmaker. I went hoping for inspiration from the incredible landscape and the chance to work on some practical things as well, such as trying to loosen up my marks and doing more sketching outside. I did gain all of those things, but what I didn’t expect was for the residency to have such an impact on me personally as well.
I was quite nervous when I arrived - it seemed like such an important opportunity and I didn’t want to waste it. I was also nervous to meet Jake and Scarlett, who are both amazing artists. I shouldn’t have worried - they went out of their way to make us feel at ease and welcome throughout the residency, and were so generous and interesting to talk to. We were also able to meet Sarah and Becky from Nettle Cottage Prints, who had stopped in to say hi to Scarlett, which was lovely.
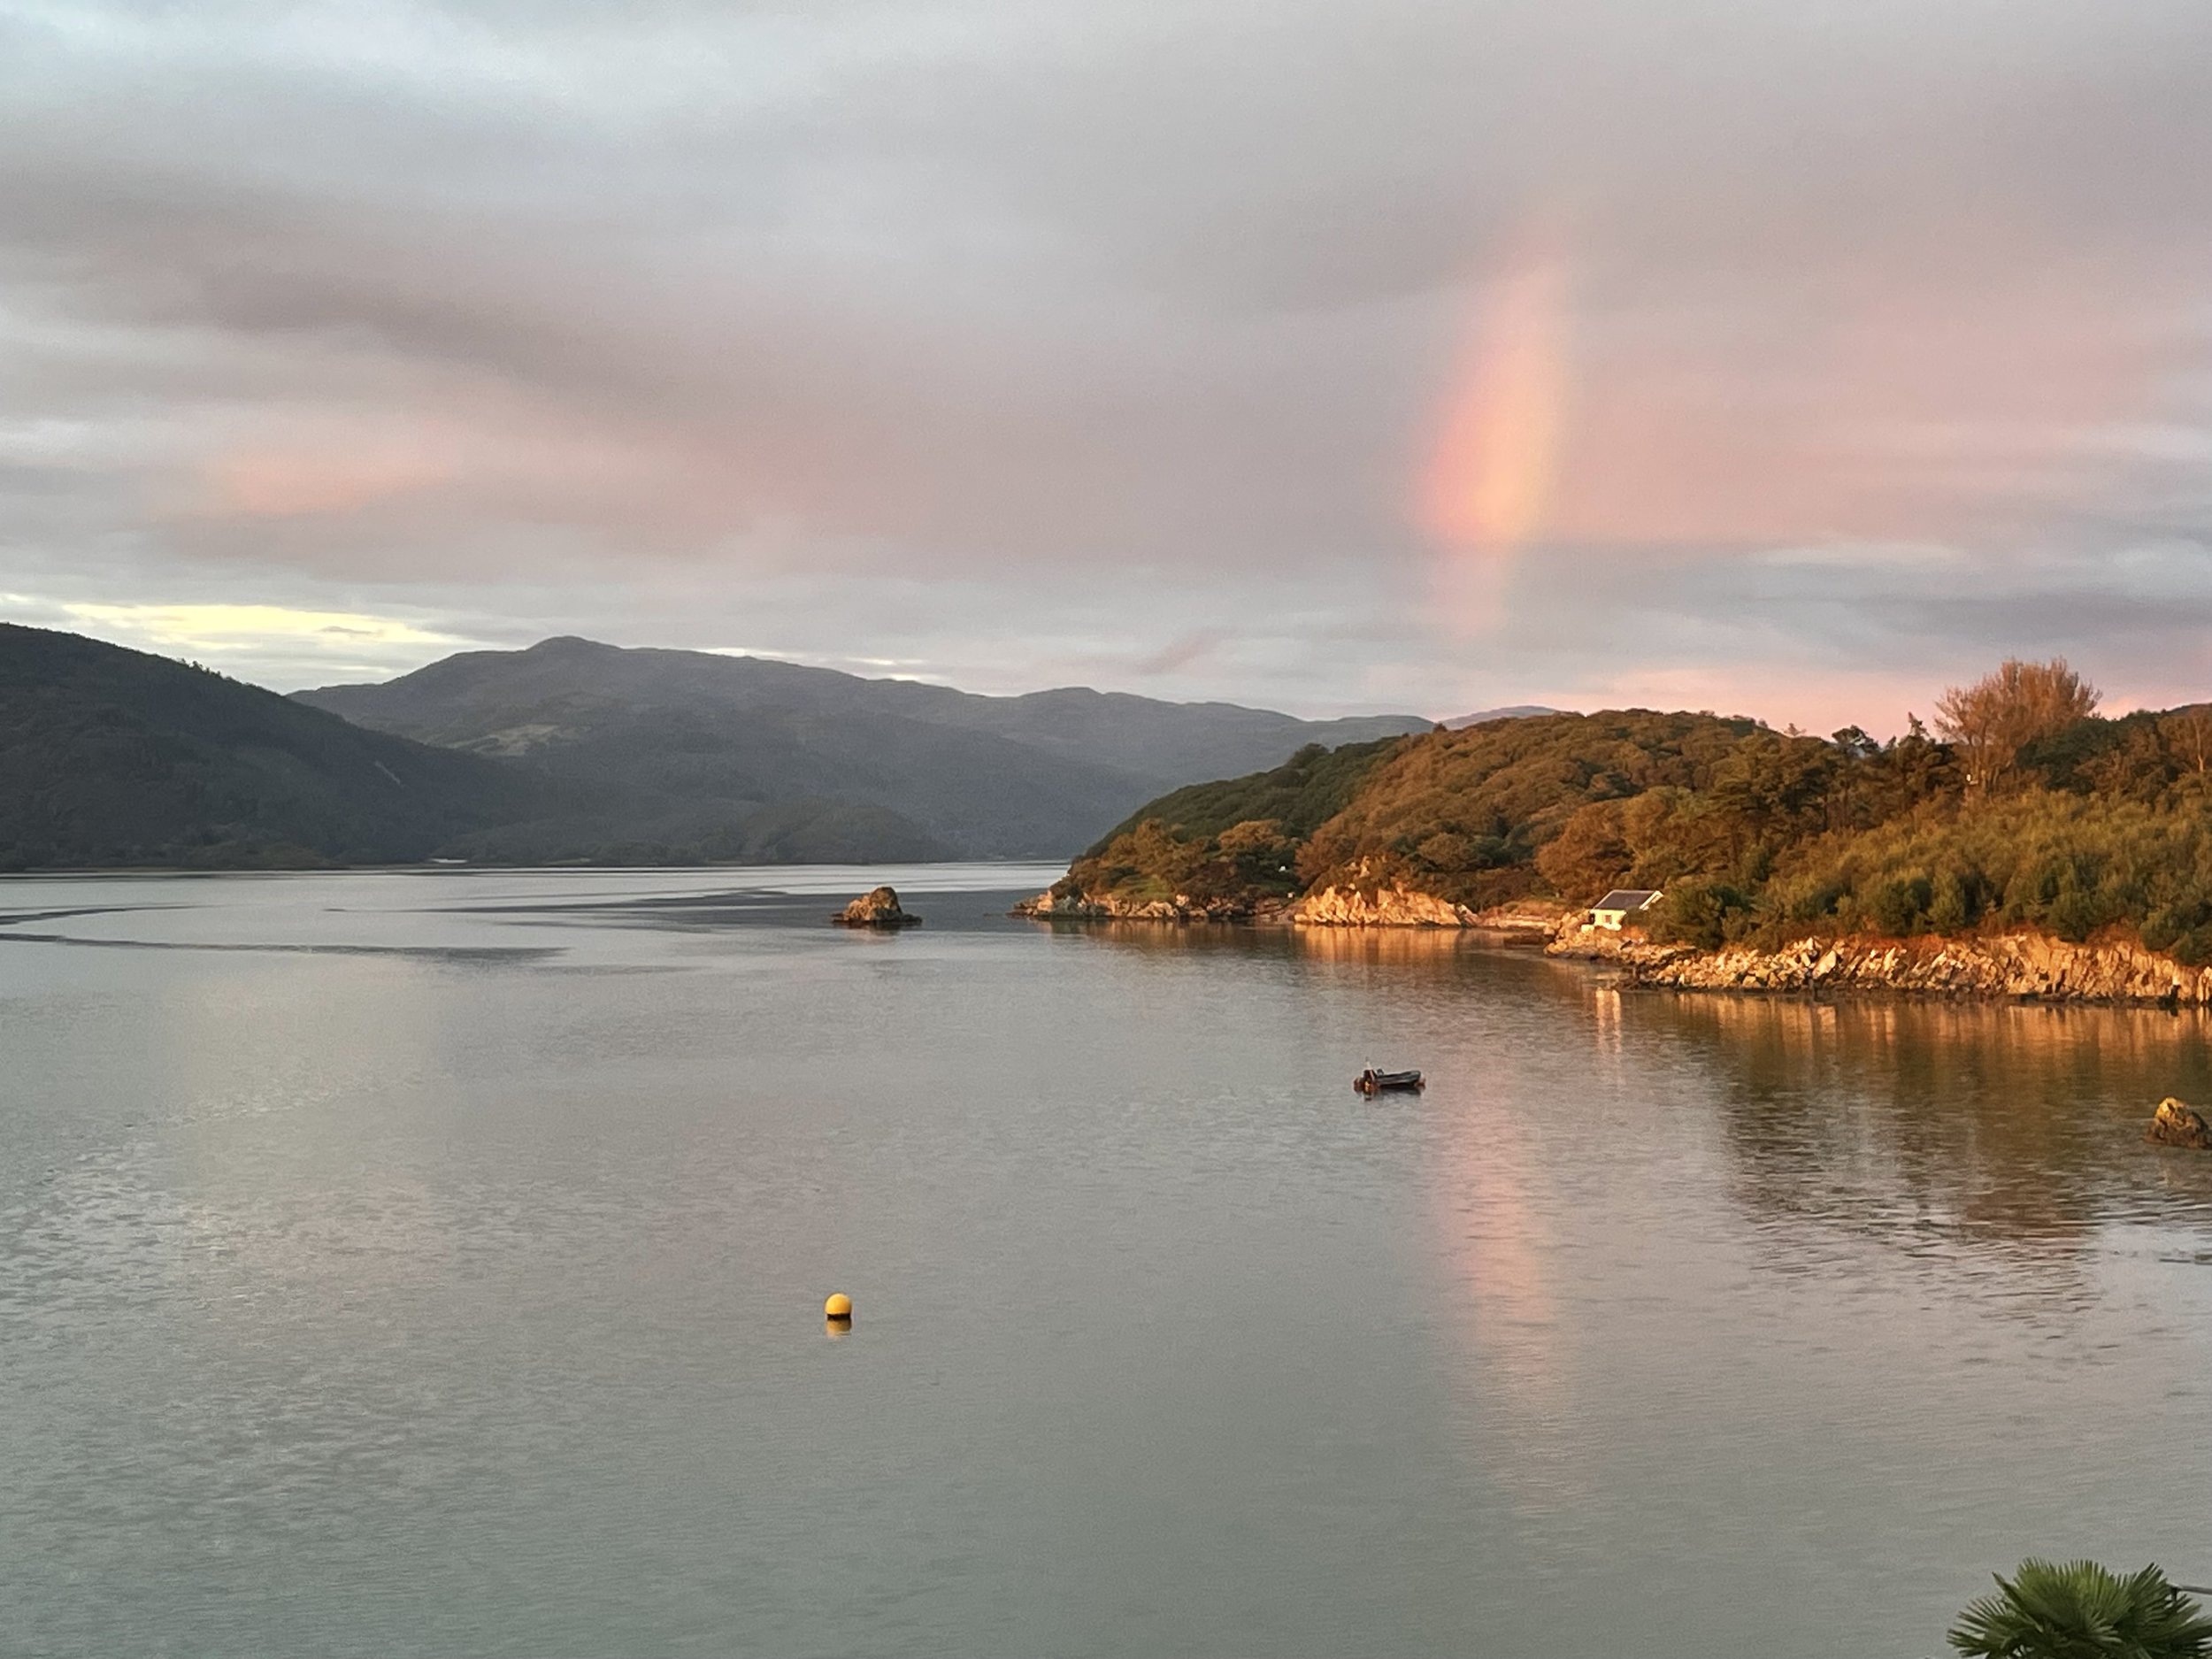
The estuary was calm when we arrived at Mawddach
Cath and I spent the first day exploring the local area, looking for spots to go back to when the weather was better. I was drawn to the woods near the house, full of moss scattered with discs of navelwort and wonderfully twisty oak and ash trees. I also really liked the hawthorn and rowan on the exposed hillside, which had been warped into permanently windswept shapes, juxtaposed against the angular rocks. The estuary was spectacular at any time and I spent a lot of time staring out of the windows, watching the light, weather and tides and how they changed the view so much.

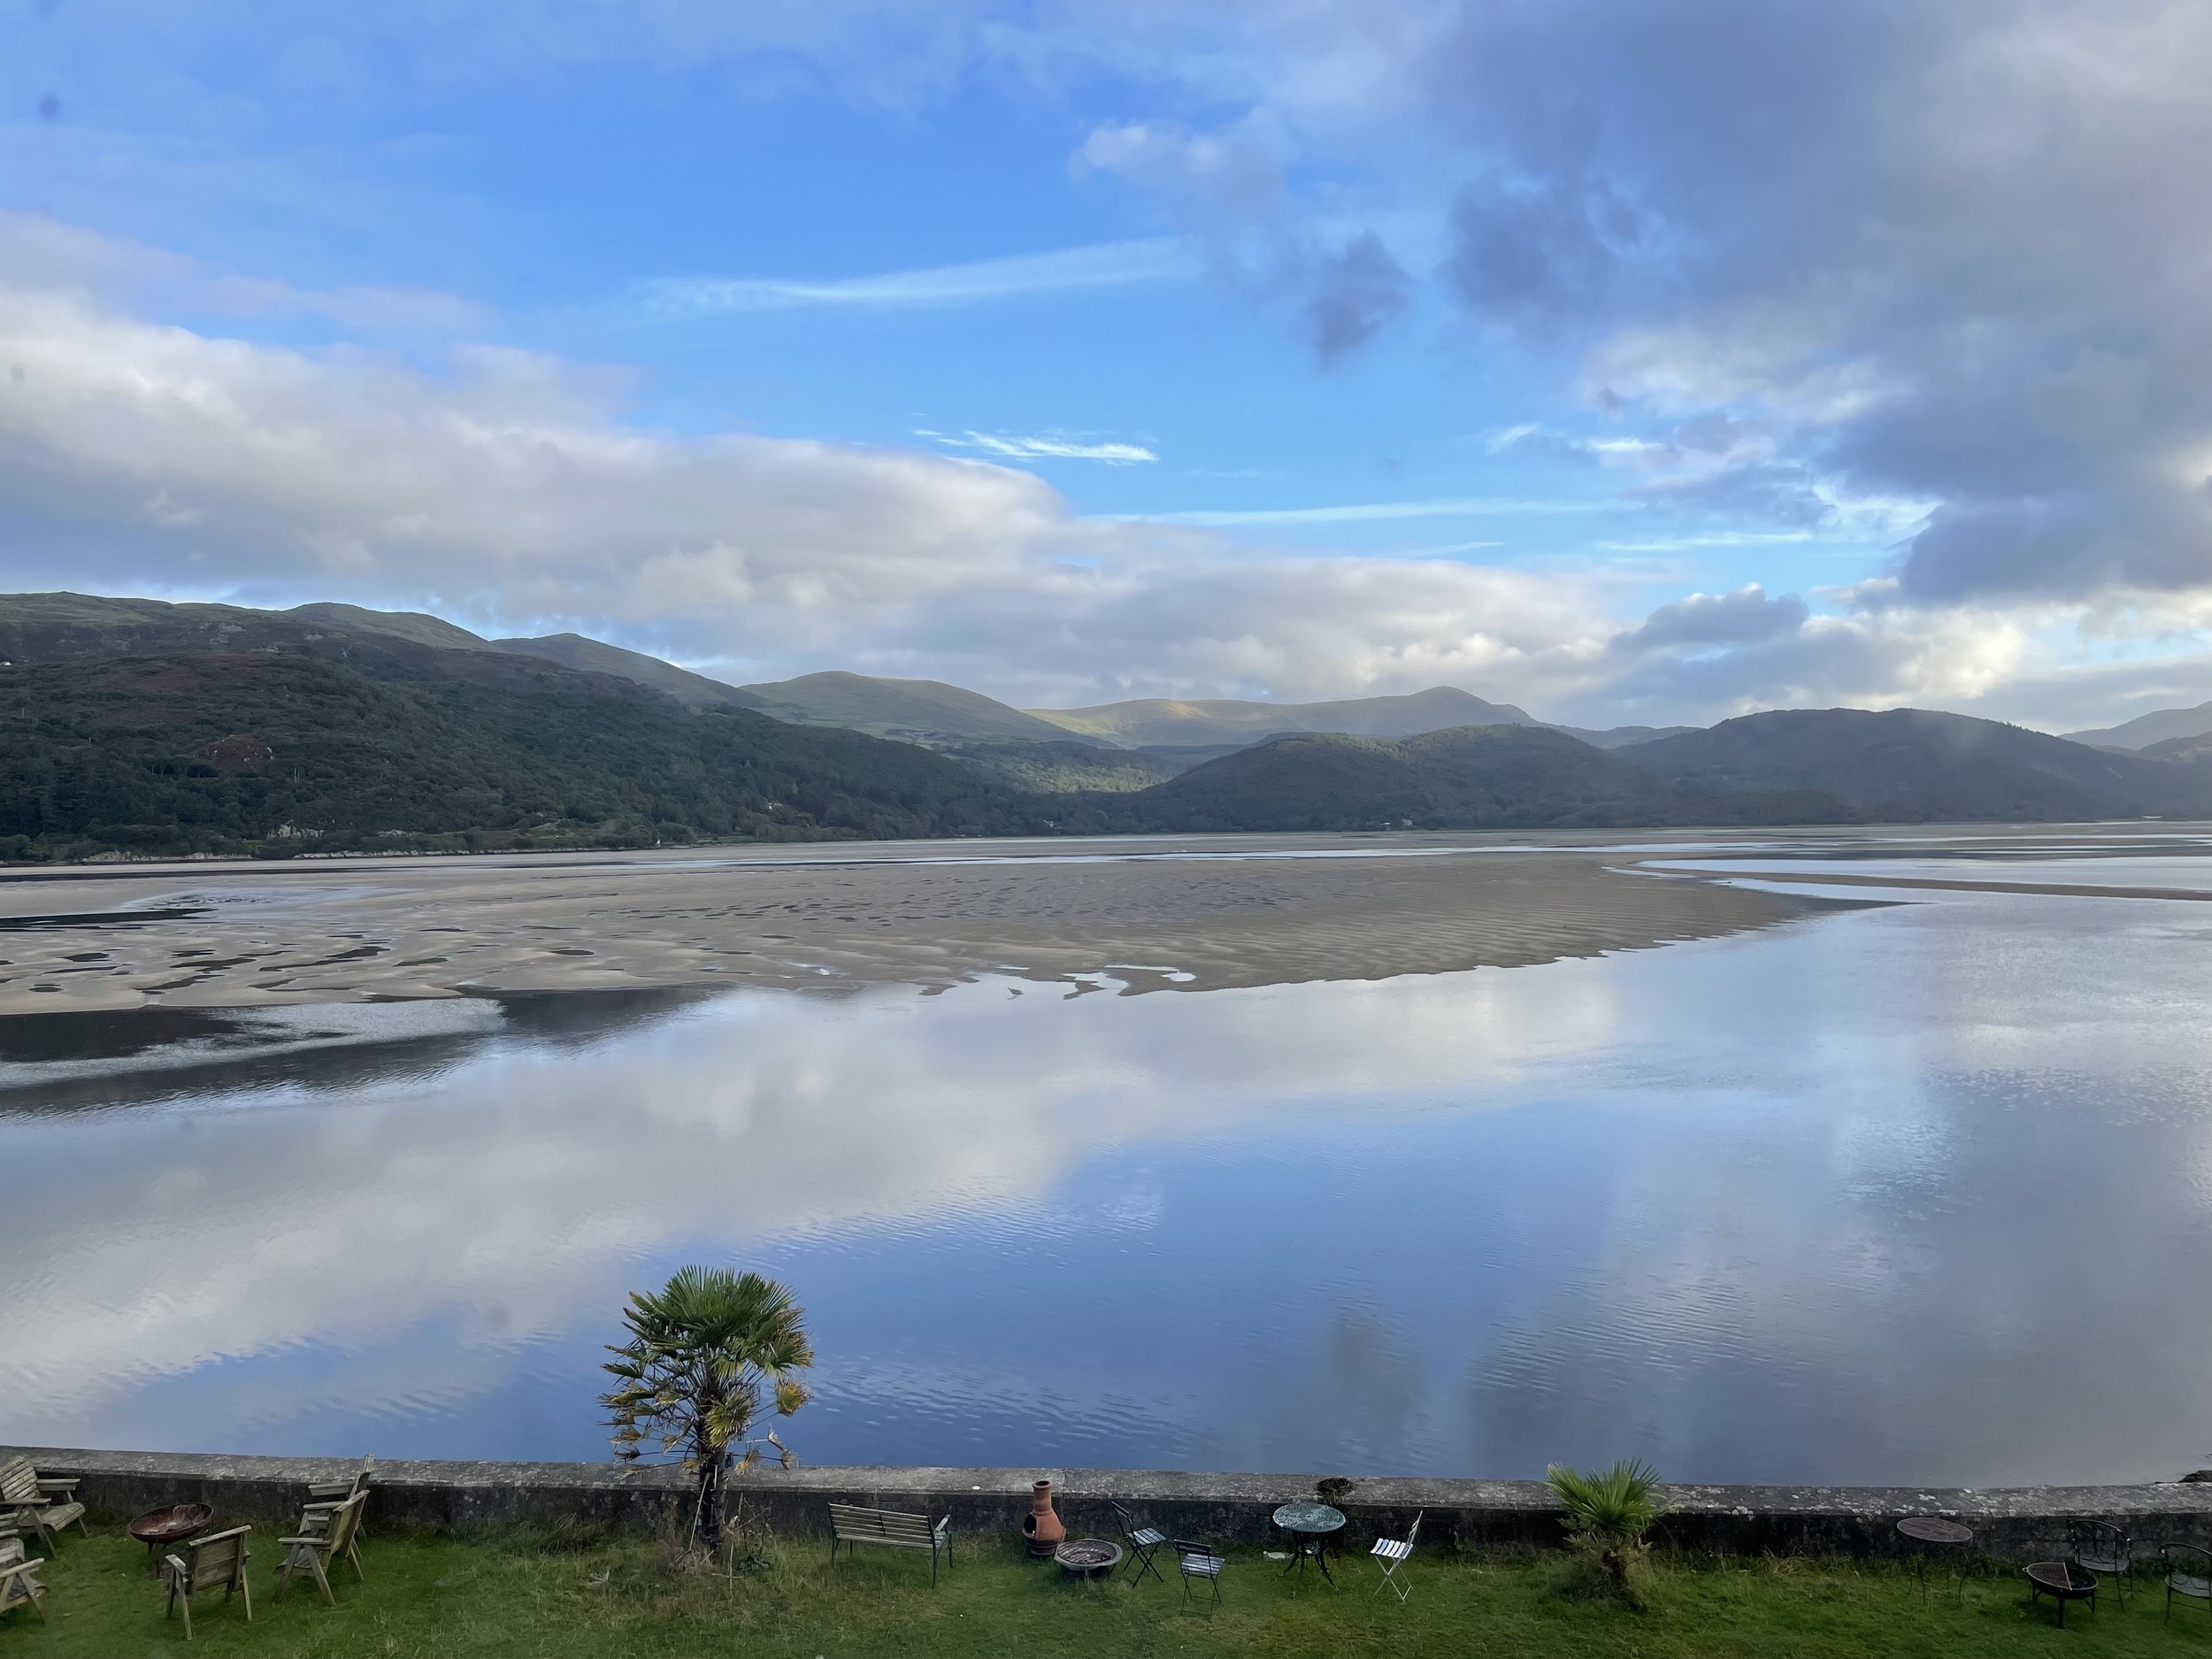
The next day the weather had changed and the view was so different
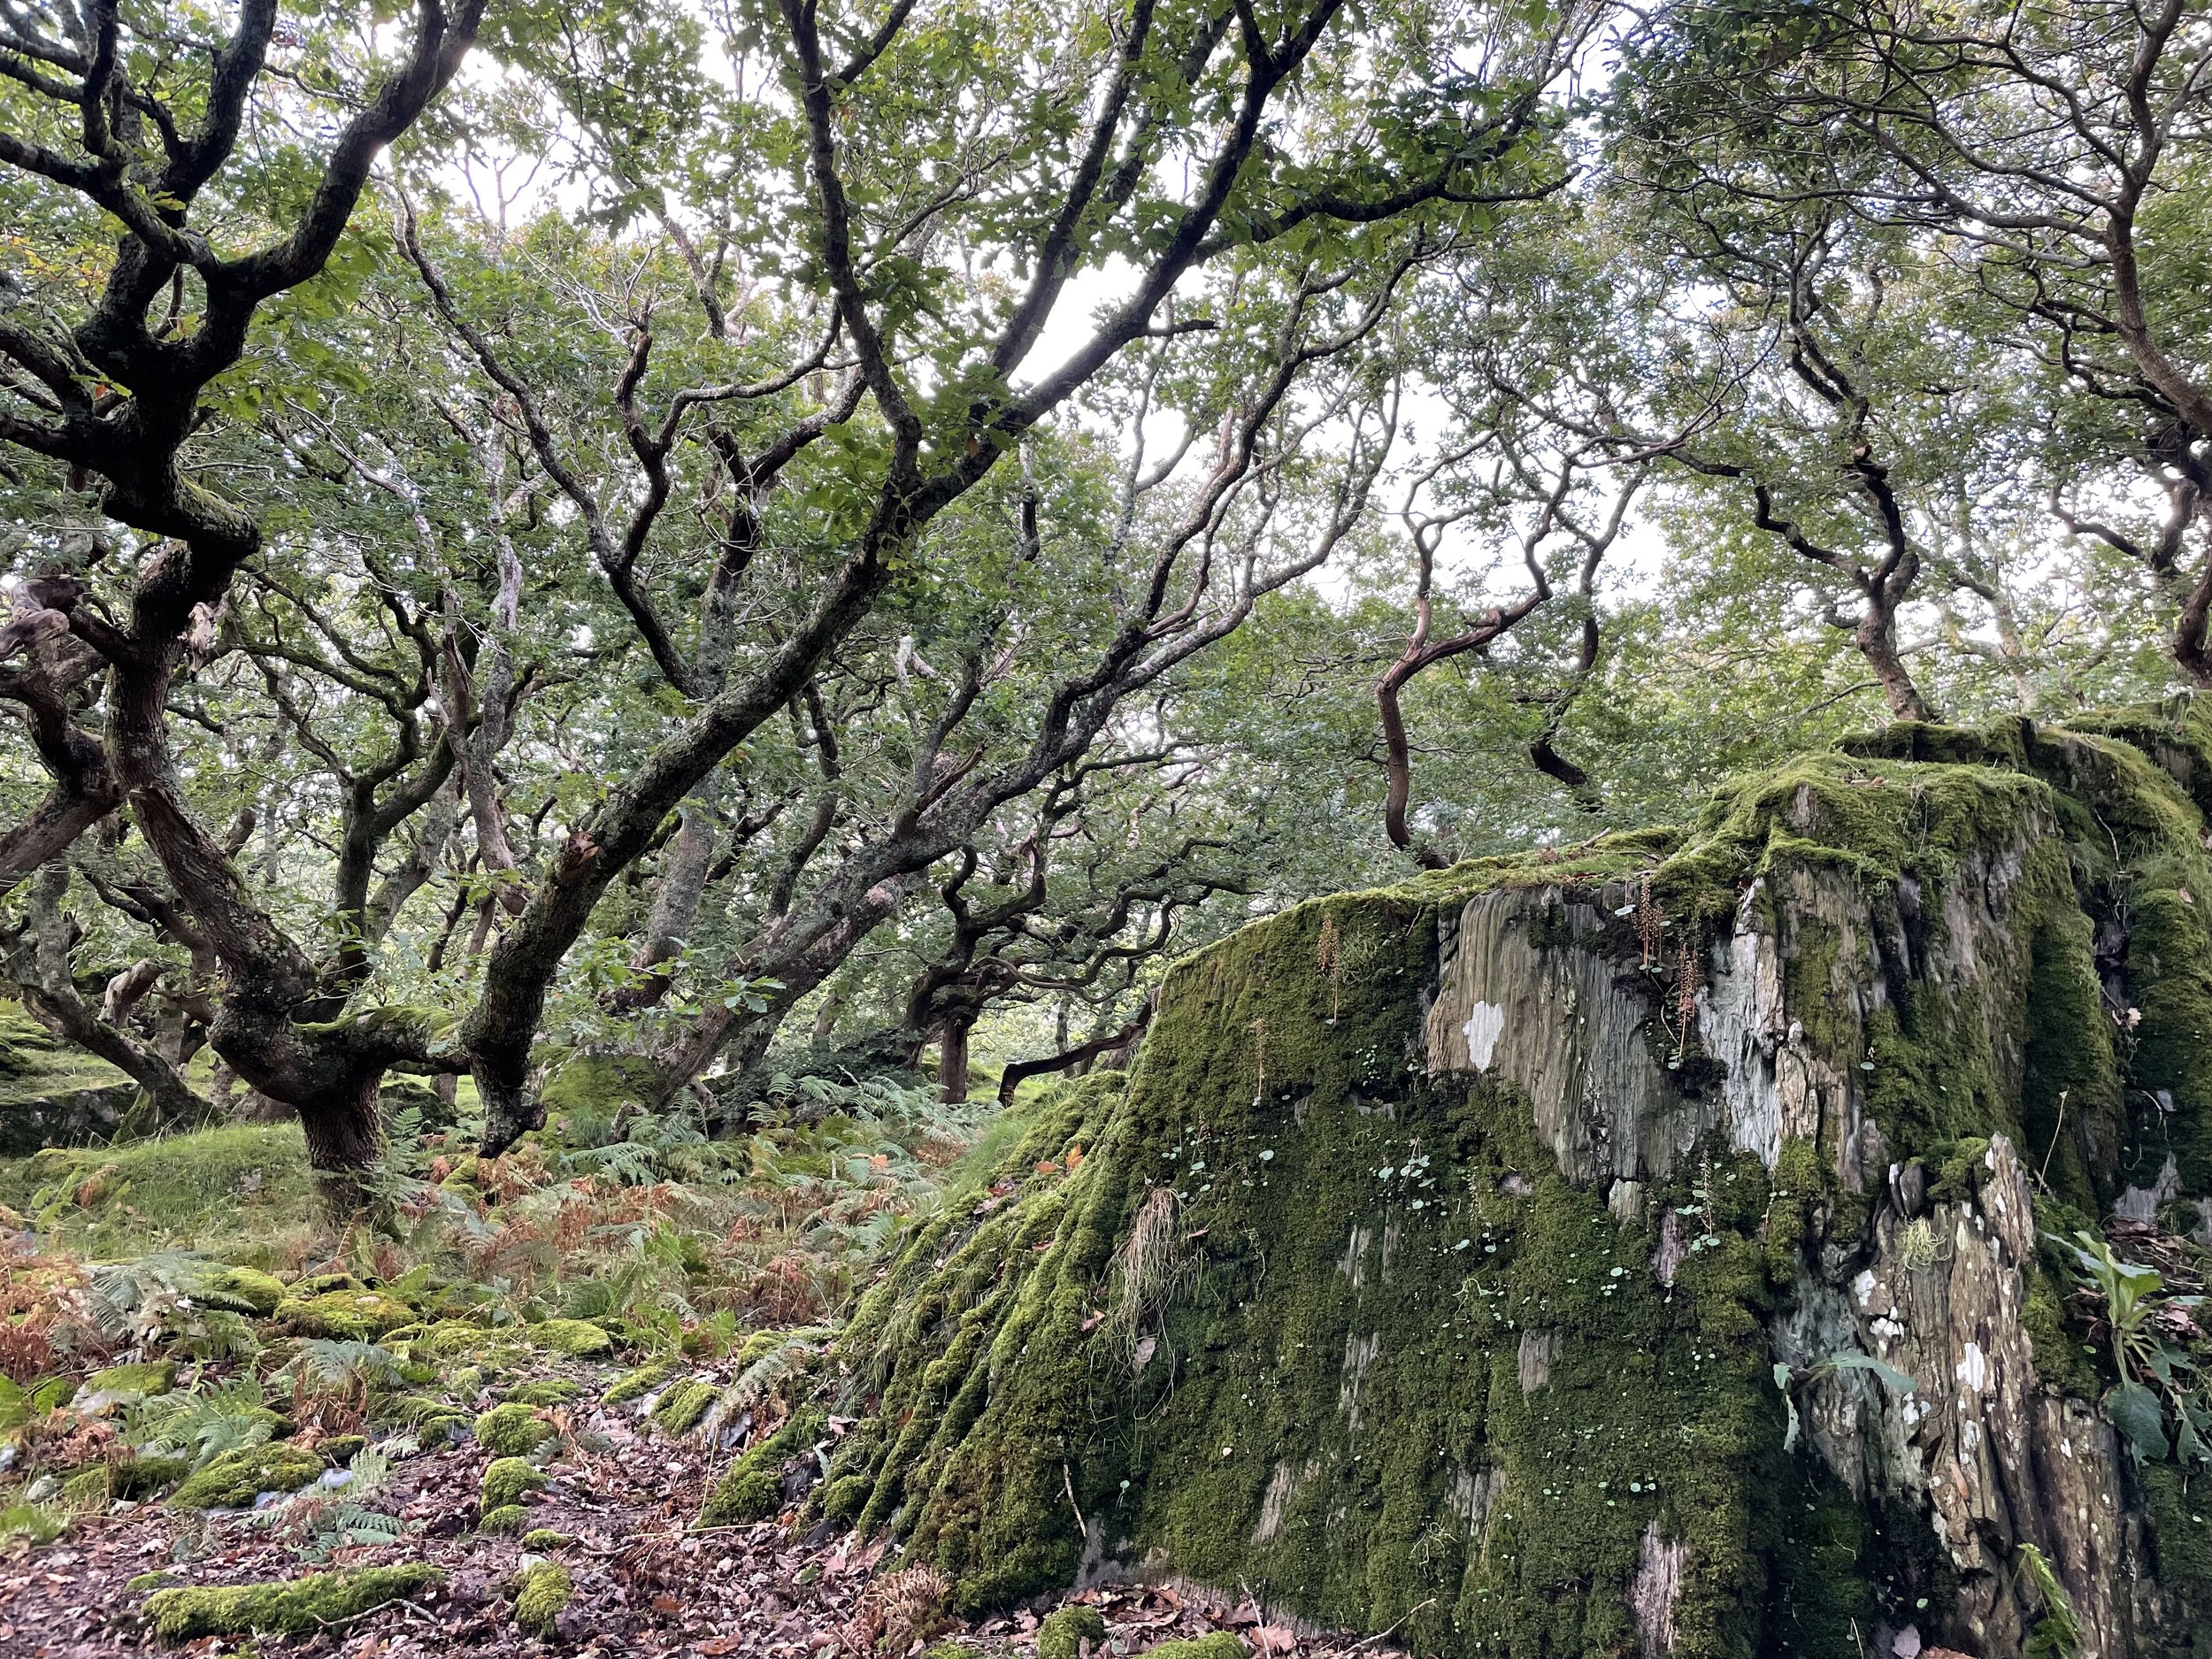
Ancient woodland near the house

Twisty hawthorn trees on the hillside, my inspiration for a series of drypoint prints
I did a lot of sketching outside and learnt so much, not least that it takes me ages and I need to push through my impatience and bad drawings at the start and wait until I’m really seeing and my breath slows to end up with sketches I like or are useful. I particularly enjoyed drawing the trees, which started to feel like old friends after a while. It makes me realise I shouldn’t be trying to combine it with regular walks or holidays but to make time for it solo, and perhaps do trips by myself just for that purpose.
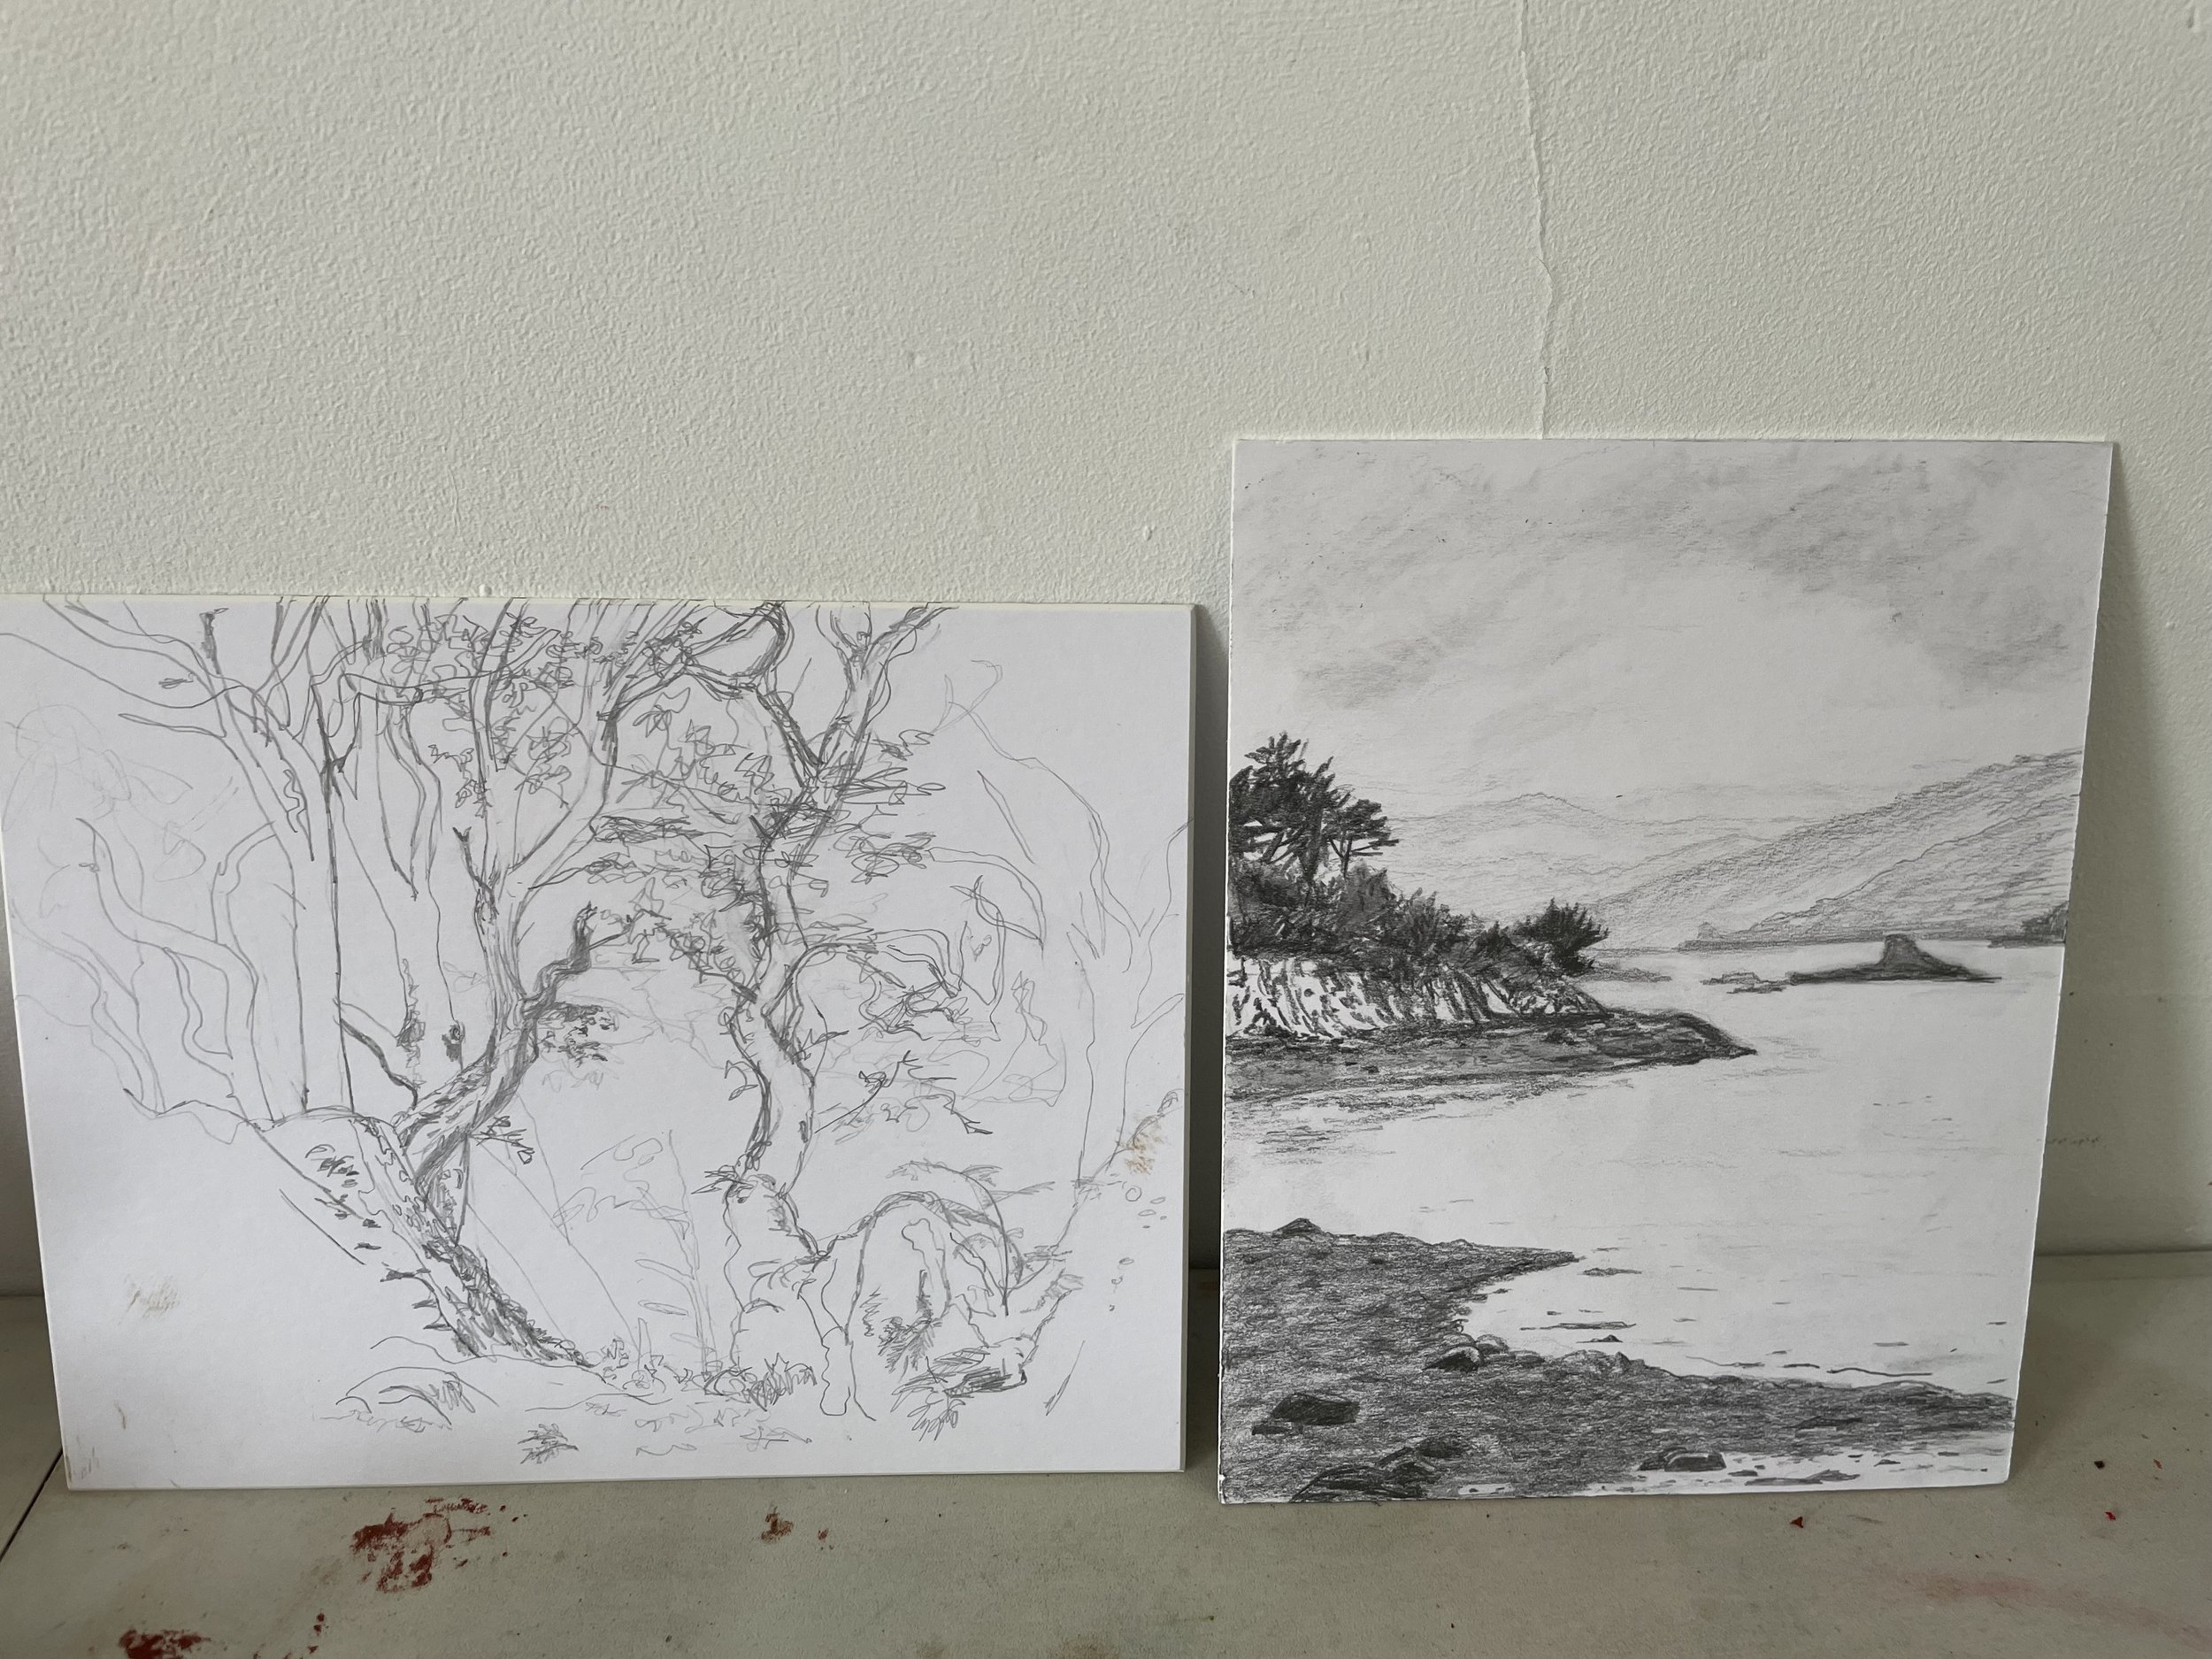
Sketches on mount board
I brought mount board scraps with me with the intention of drawing outside and then making collagraph/card cut prints straight from the sketches, but in the end I liked the sketches too much and didn’t want to cut them up. I did really enjoy drawing on the mount board, though. This is something I will use as part of my prep in future. It felt more permanent than drawing in a sketchbook so I found I stuck with the sketch rather than turning the page, but I didn’t feel like it was too precious to use either. And I can always make a collagraph from it if I want to.

“Into the Velvet Night”, a monoprint made on location
I had all sorts of plans, but with limited time in this amazing place, I didn’t want to spend too long making plates. I switched to making monotypes to record the shapes and shadows of the tides and sandbanks, and the fast-changing light and weather. This was particularly important for night scenes, which didn’t show up in photos so I worked on monotypes with the images fresh in my mind. I allowed myself to be experimental and take risks, because I wasn’t printing with any finished goal in mind. In the drypoint and collagraph plates I made, I tried to keep them both loose and sketchy rather than being really particular like I would normally be. It’s something I would like to take into my future work.

Monoprint sketches to record the changing light and shapes in the estuary
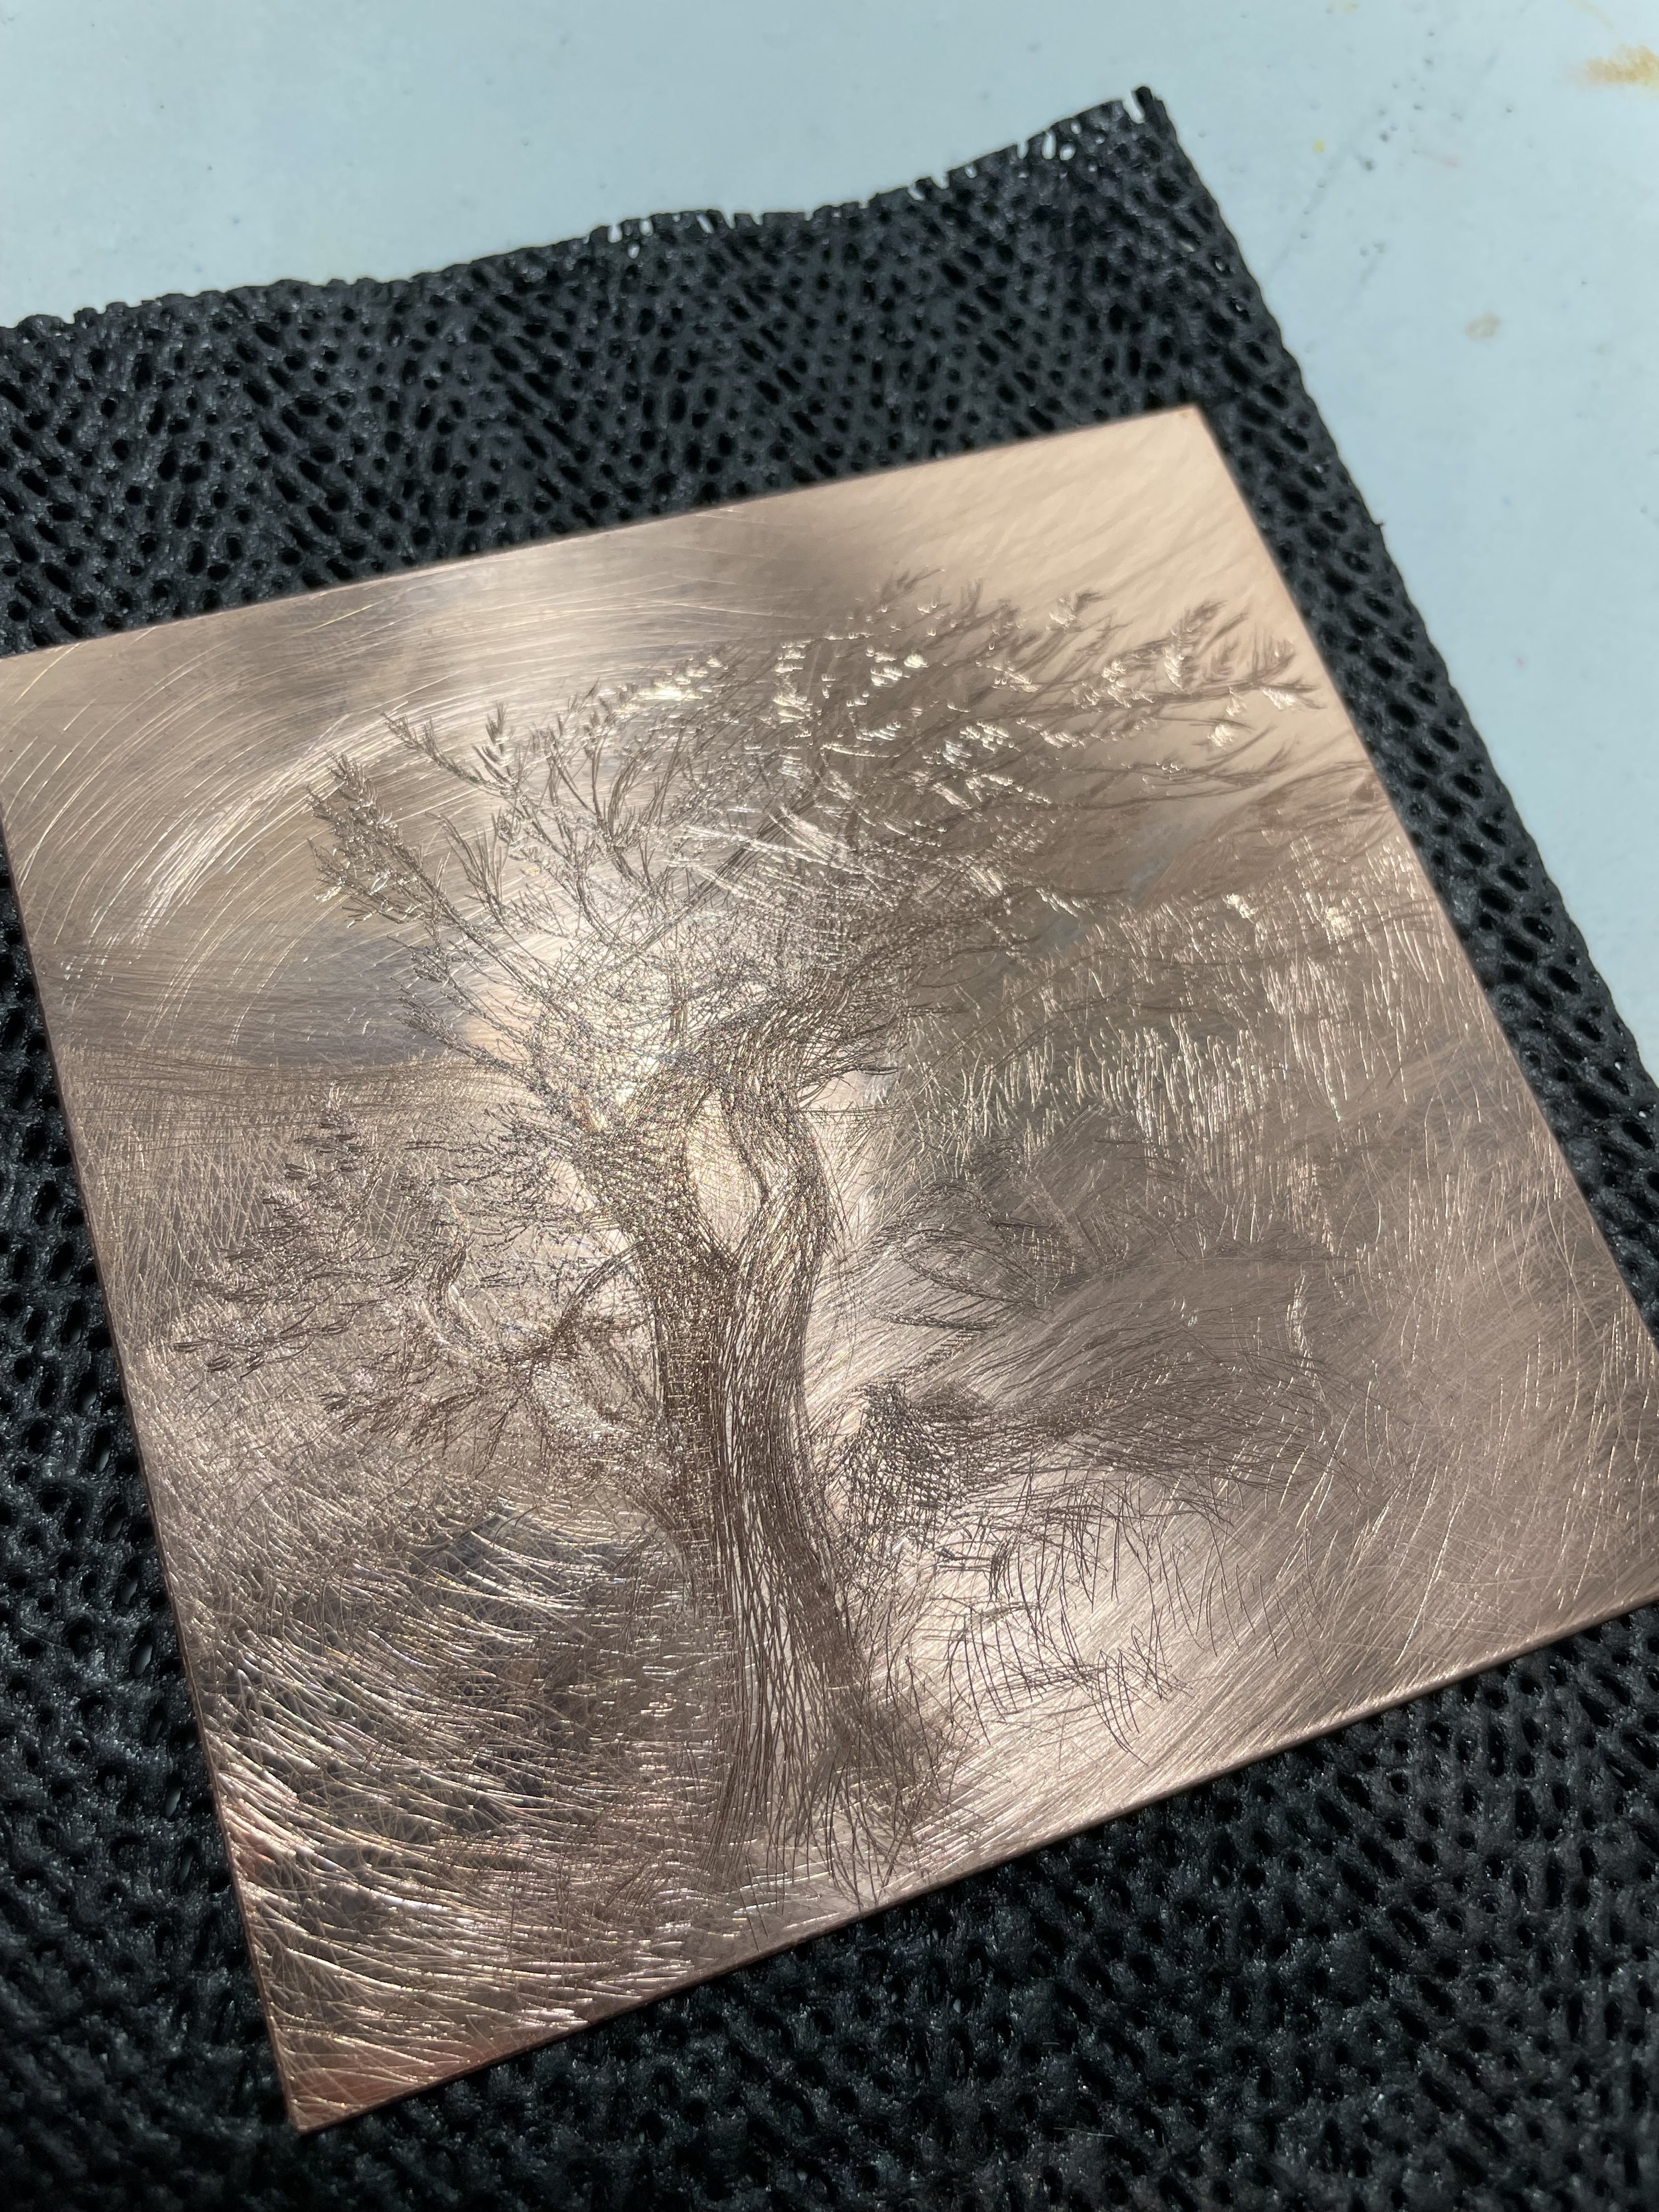
Copper drypoint in progress, inspired by hawthorn trees

The inked-up plate for “Resilience”, which I refined further once I got back to London

The woods were perfect for studying shadows
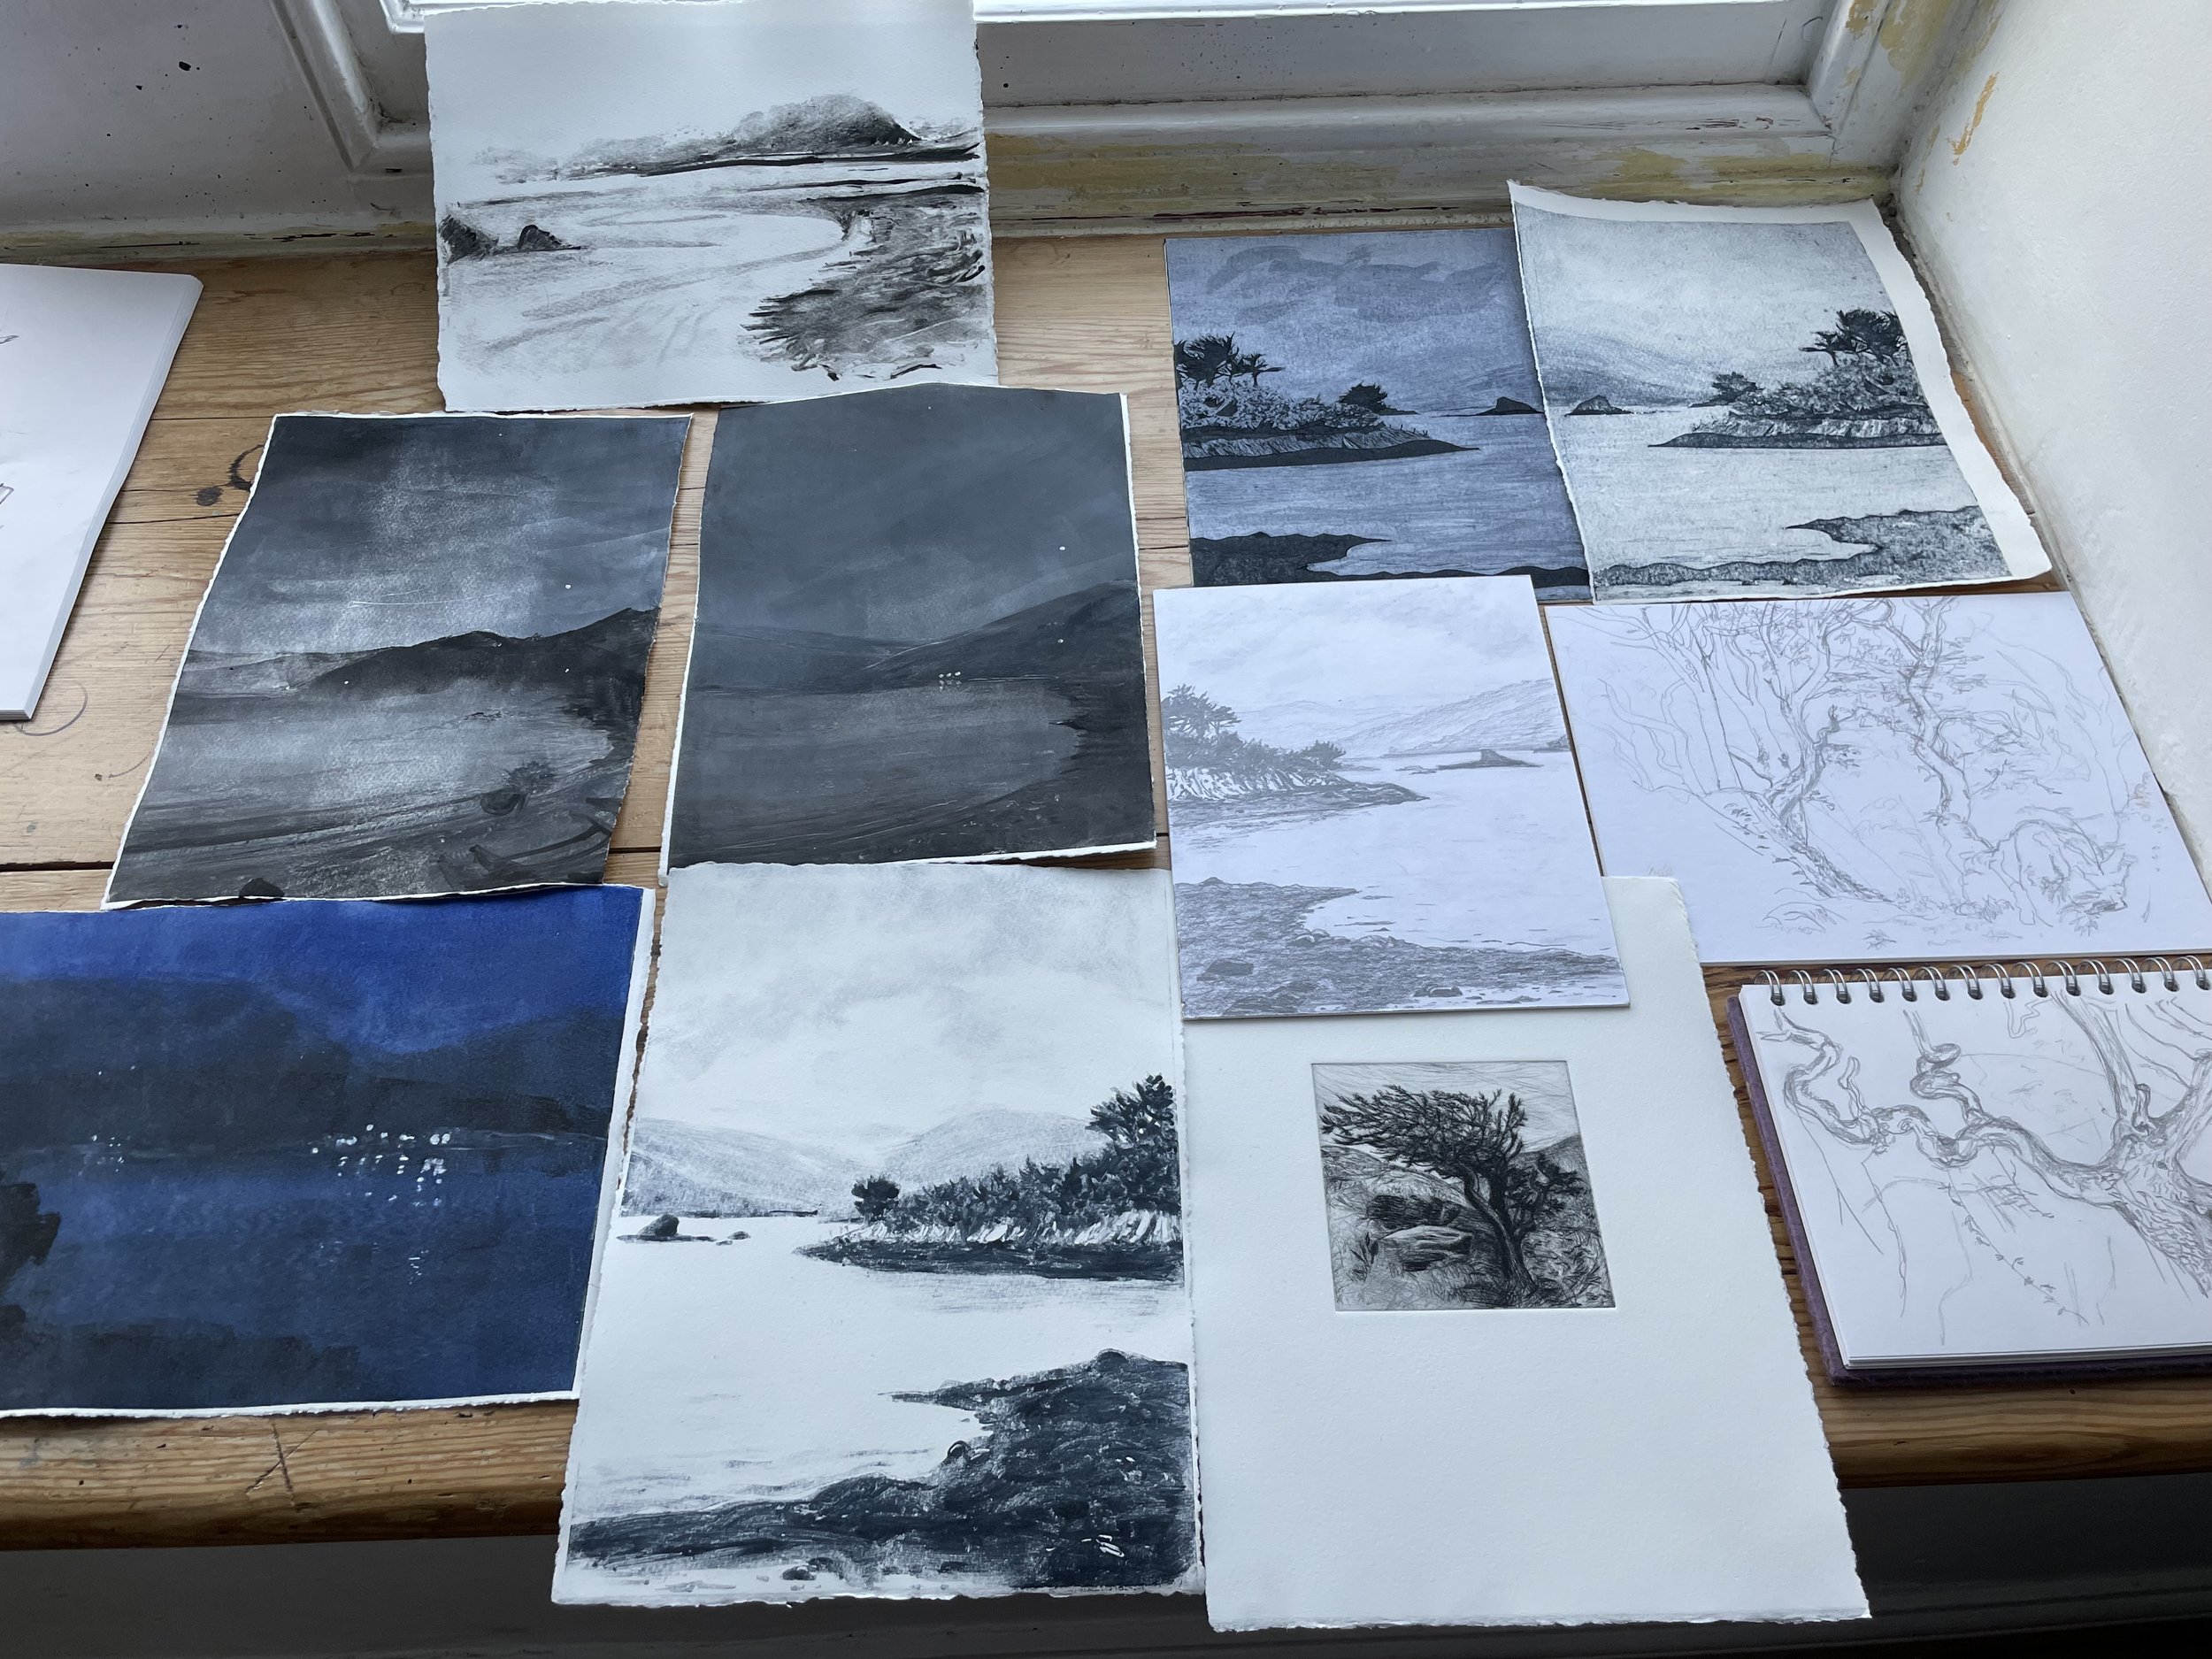
Some of my pieces and sketches from the residency
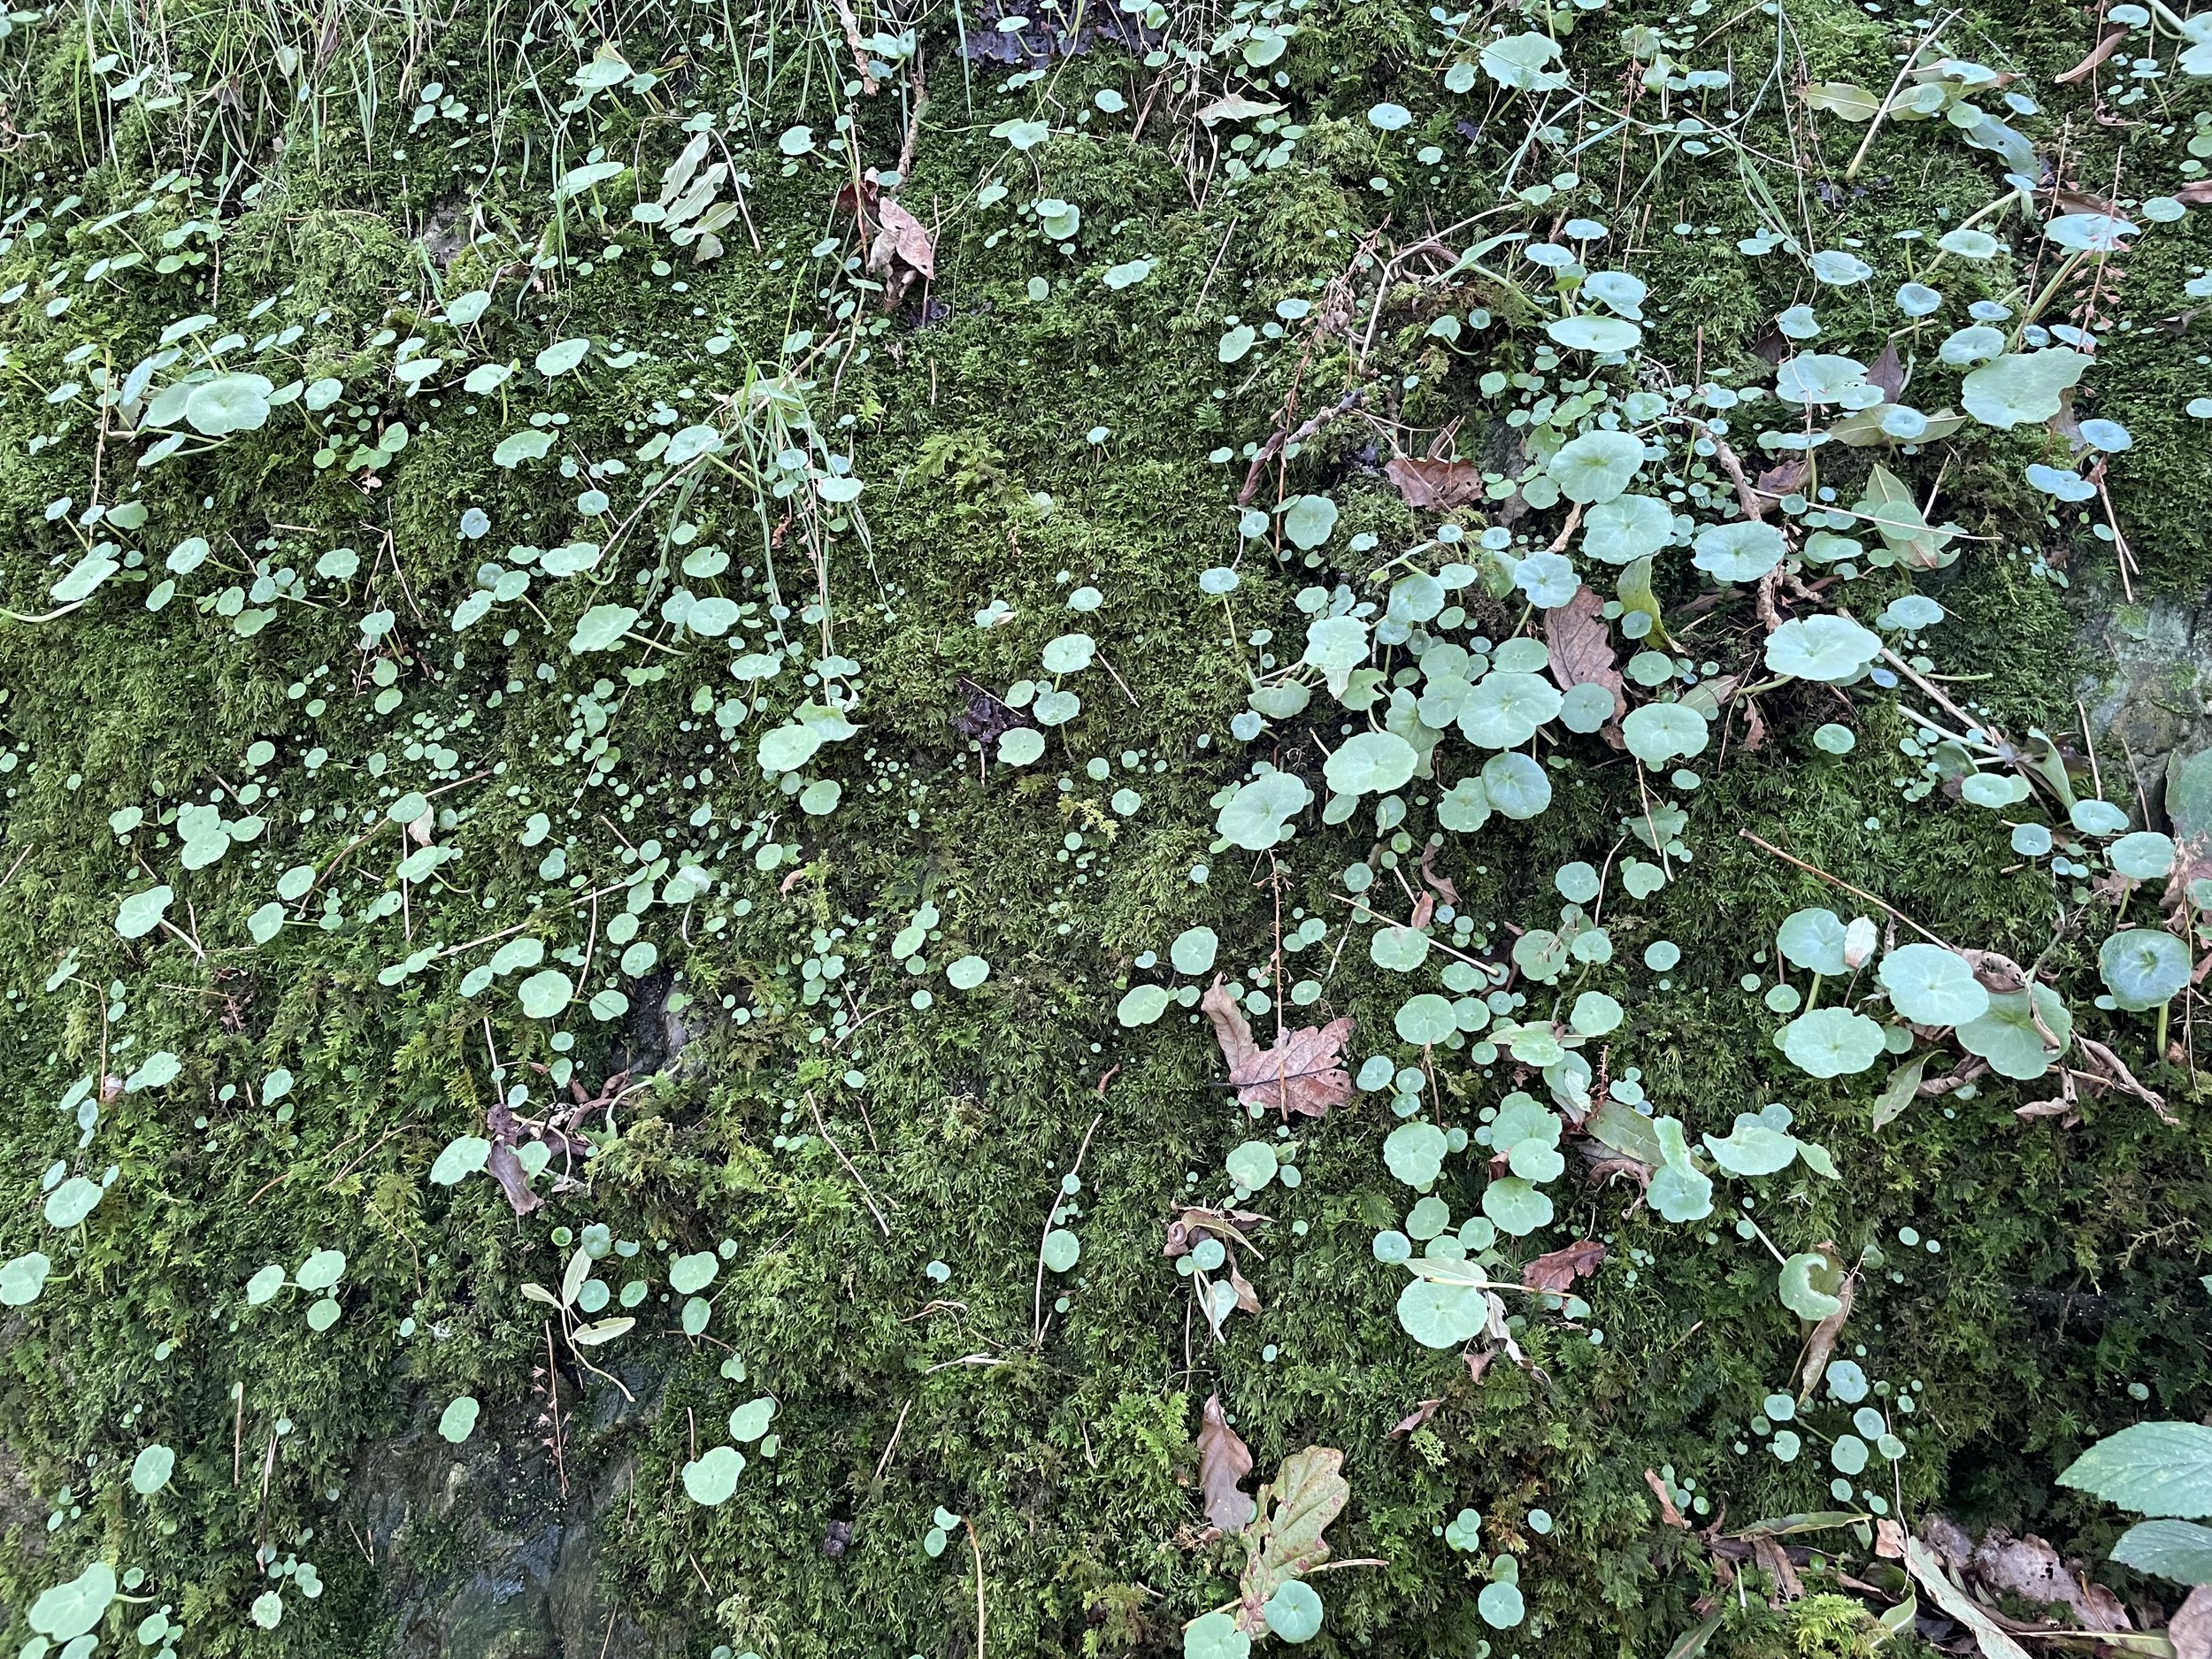
Pennywort, which grows on a lot of the rocks

“Supermoon”, a monoprint made on location, watching the strange light on the water
Cath and I had some wonderful times during the residency that I will always remember - dinner with Jake, Scarlett, Toby and “the most wearable vegetable” the first night; Beryl the bladder wrack seaweed installation; sitting drawing together in the woods surrounded by speckled wood butterflies; Cath’s portrait session with her musical saw; staying up late to watch the weird light of the harvest moon, the lunar eclipse and maybe-auroras. Most of all, it was wonderful just to have time to focus on art and remember that’s what we love to do, away from distractions.
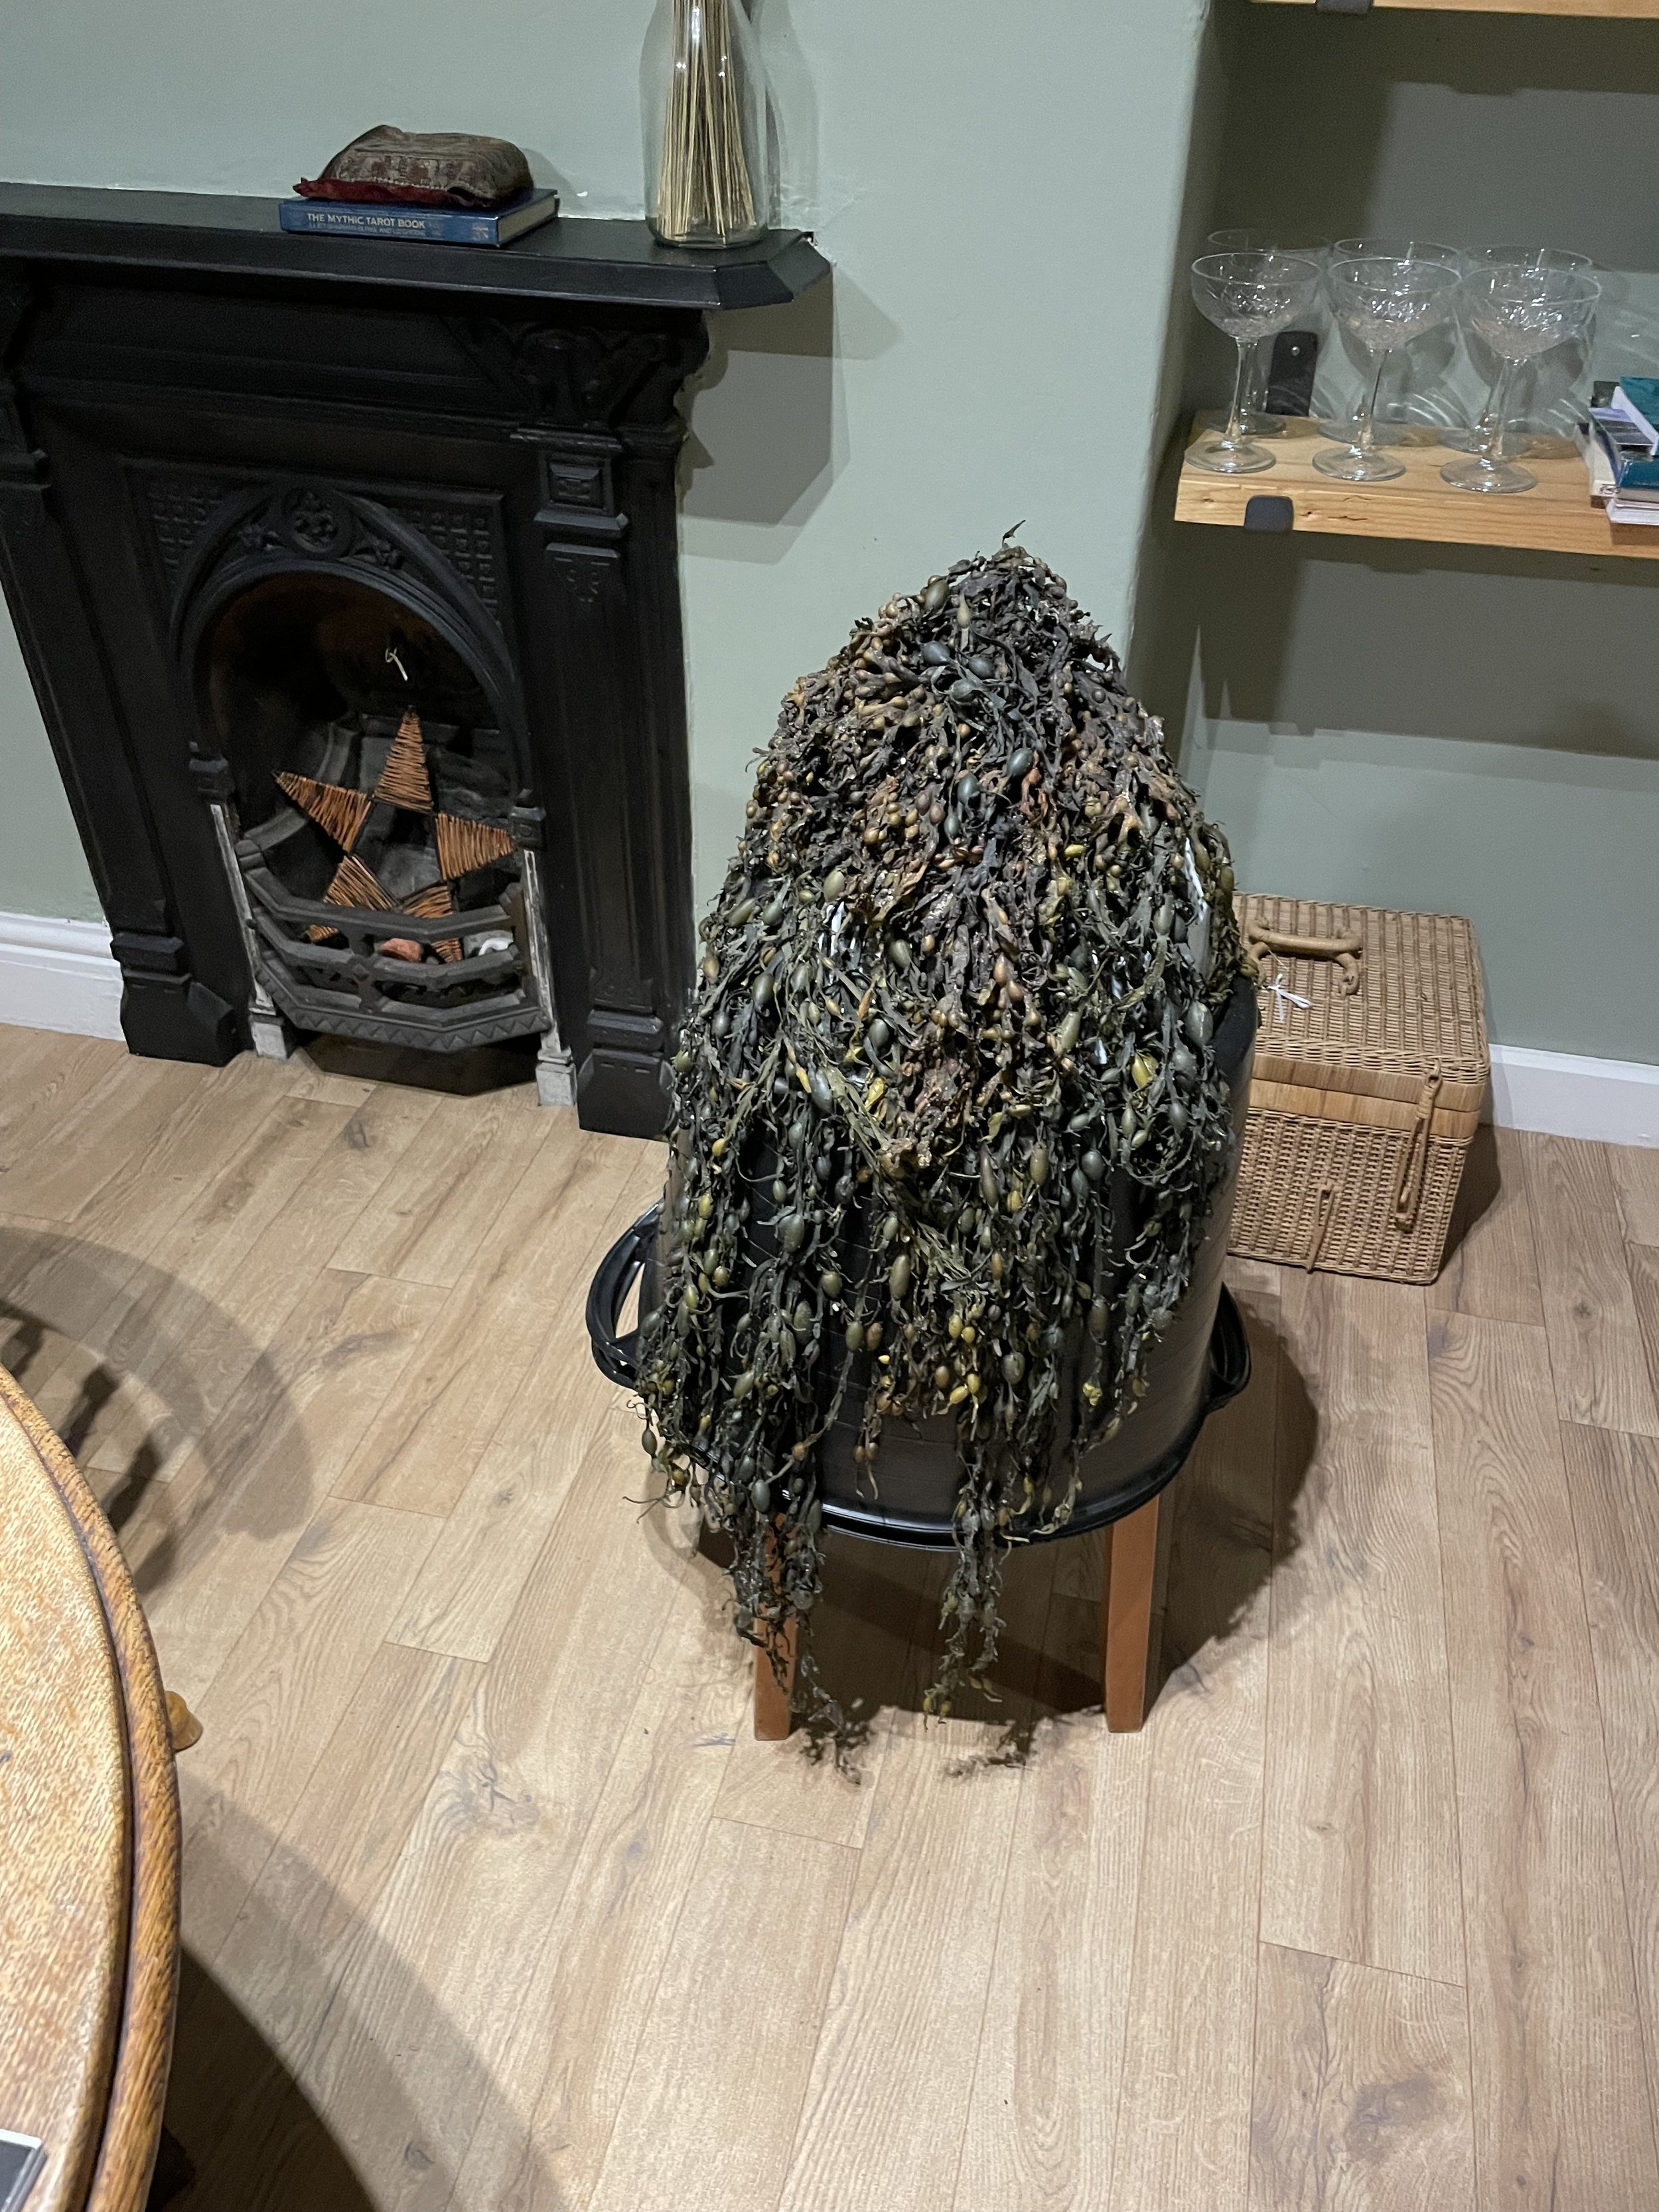
Beryl, a mound of bladder wrack which Cath brought in to draw and lived with us for a few days

“Mawddach”, a monoprint made on location. I think I will keep this one for myself, as a reminder of my time there
There is a particular rock standing tall in the estuary that you can see from the window seat of the studio there. You can see it at high tide, at low tide as the sandbanks appear, whether the weather is clear or everything behind it is a blur of grey mist, in heavy rain and when the sun shapes it with shadows, and as an indistinct smudge at night. It’s always there, an anchor in the ever-changing view. I couldn’t help but be drawn to it, sitting cross-legged on the window seat, or glancing up between pulling prints. It reminds me of a meditation that was taught to me once about a mountain, something to help during a particularly difficult time. The rock is not a mountain, but it is there all the same. It was cathartic to watch it, and I feel like that has shifted something in me.
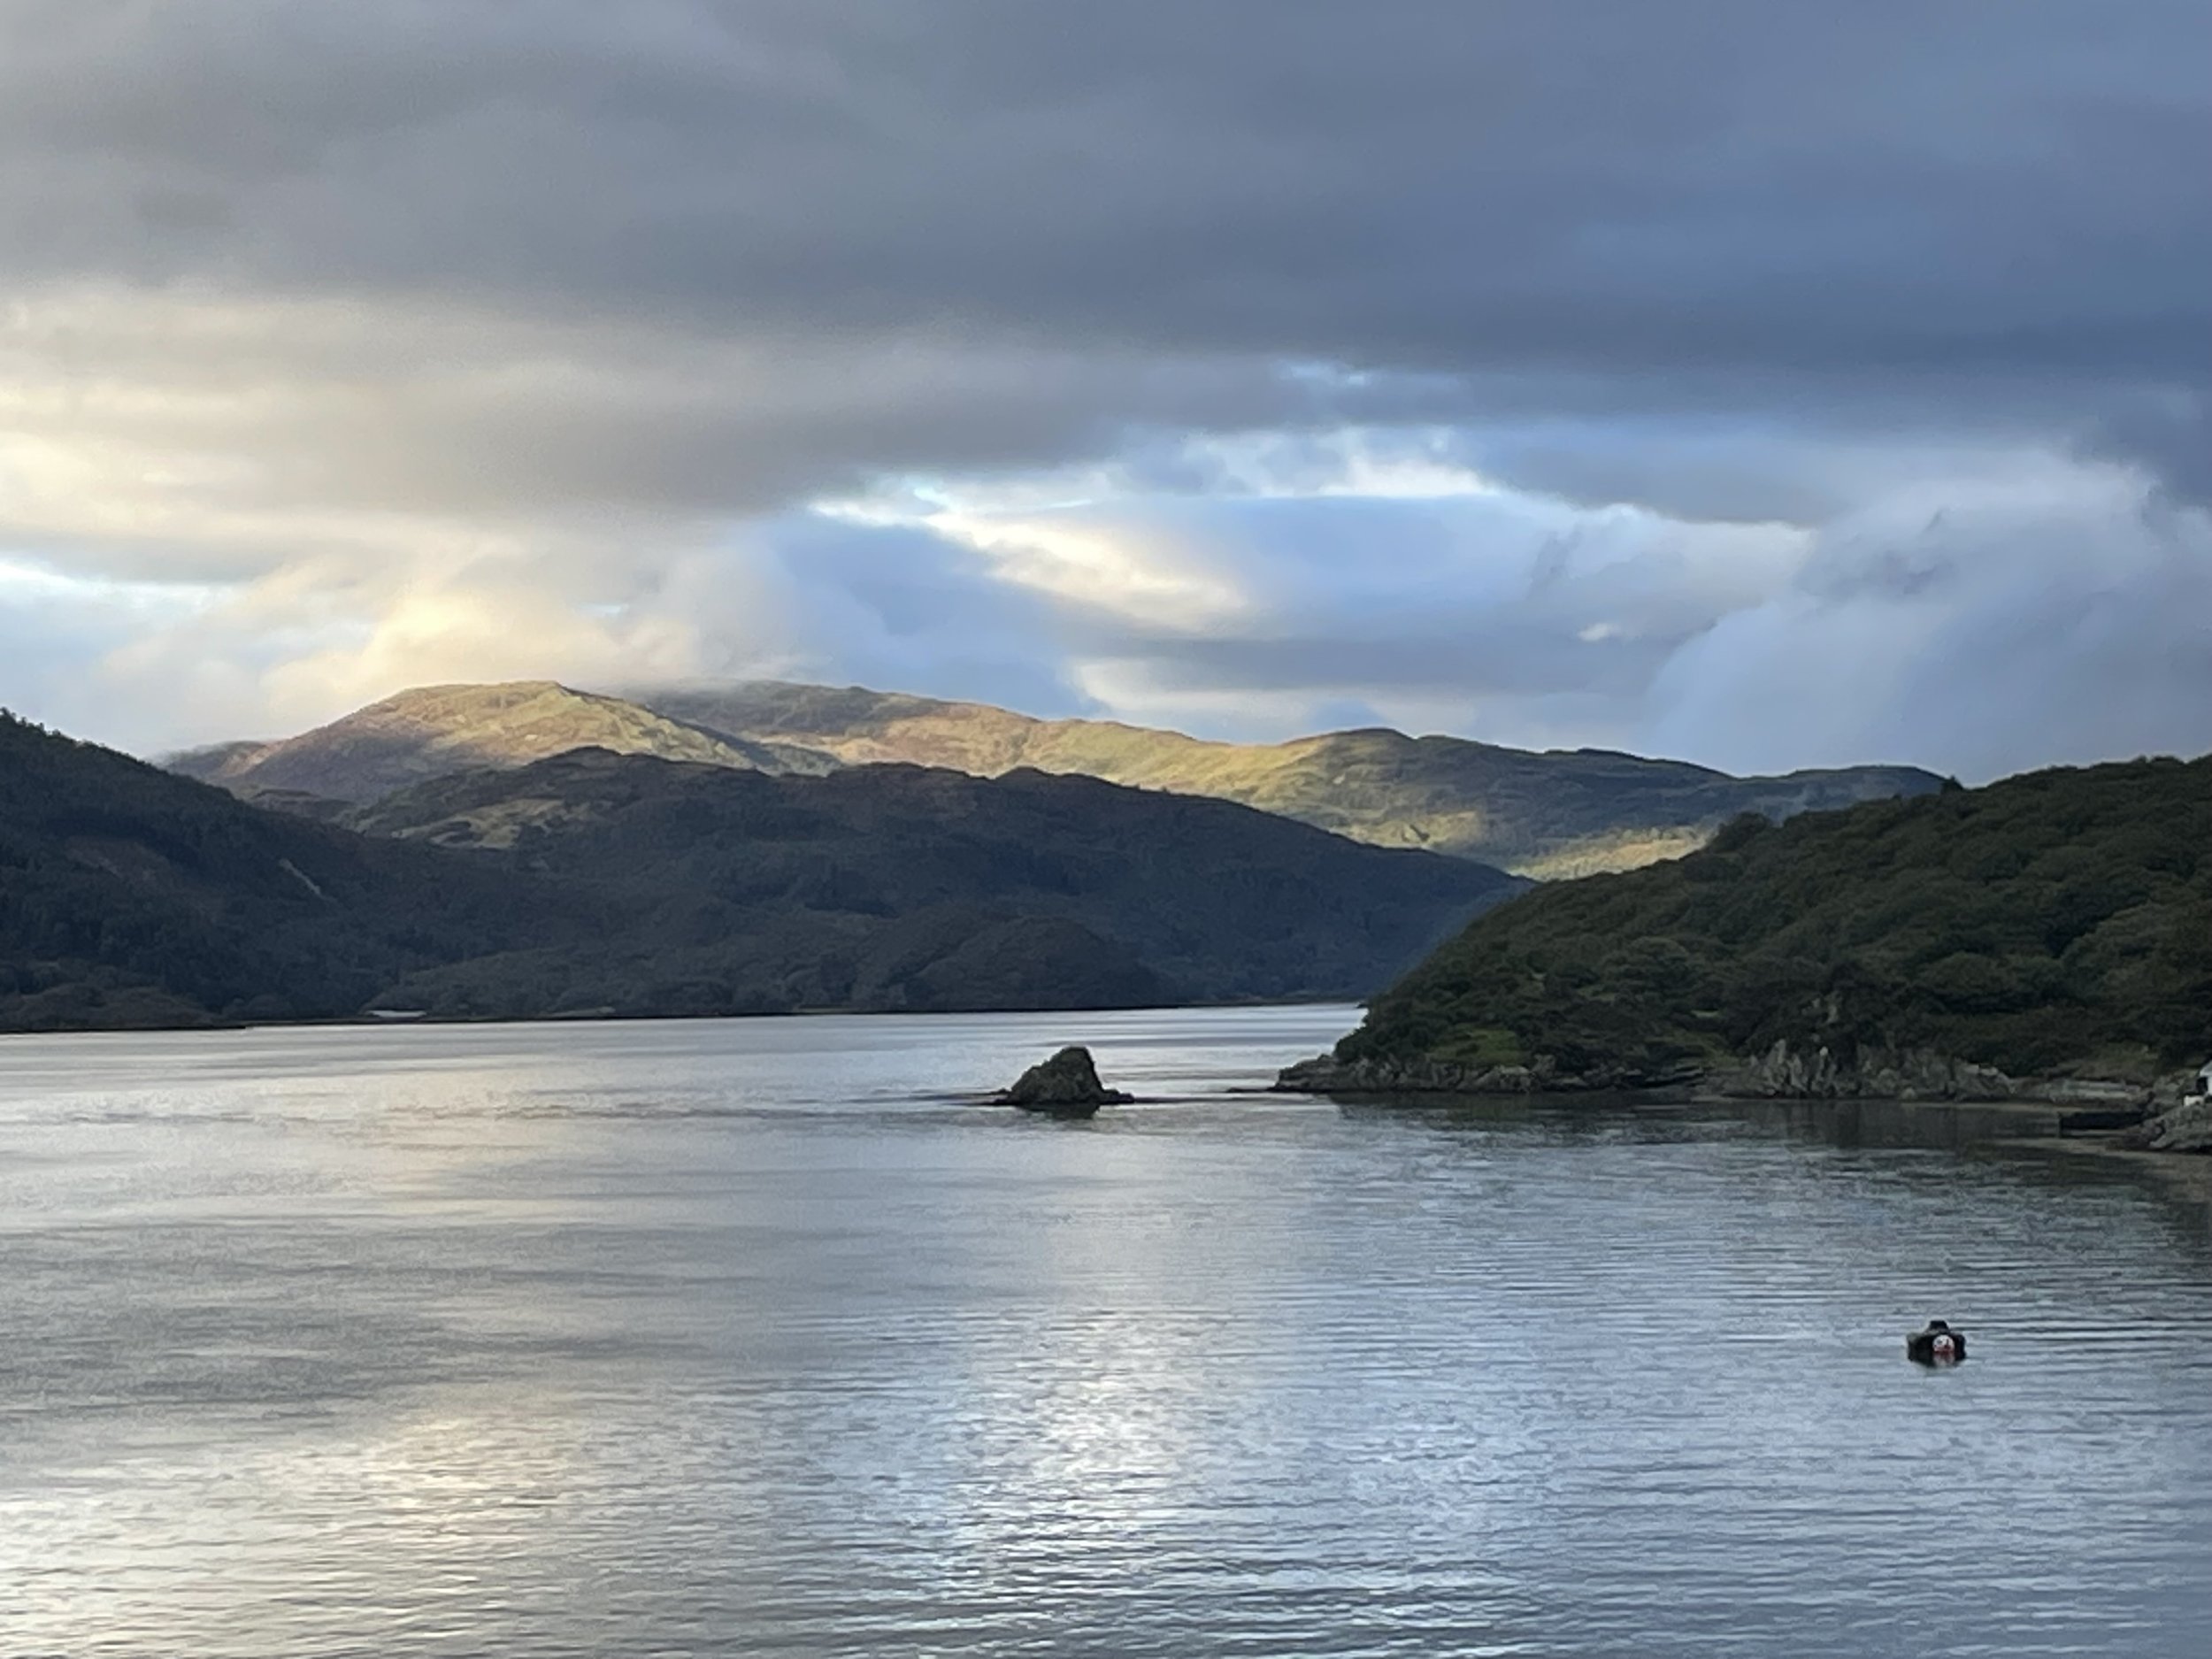
The rock in the estuary
Most of my prints are landscapes, but they are also a part of me, metaphors for things in my life or emotions I’m processing, although I want others to find their own personal meaning in them. After this residency, I’m feeling focused and hopeful, and I realise that this experience is something I really needed to reignite my love of printmaking and push my work forward.